Canon Marketing Malaysia (“Canon”) has unveiled its 2025 lineup of EOS Masters, along with the introduction of a second-tier category known as EOS Mentors. This expansion aims to further enrich Malaysia’s photography and videography landscape by providing greater access to expertise, mentorship, and professional development.
Building on the success of the EOS Master initiative, first launched in 2023, Canon has once again assembled a distinguished group of professionals to act as brand ambassadors, industry leaders, and educators. The newly introduced EOS Mentors will work alongside the Masters to broaden the reach of Canon’s training programmes, offering more hands-on guidance to both aspiring and professional photographers.
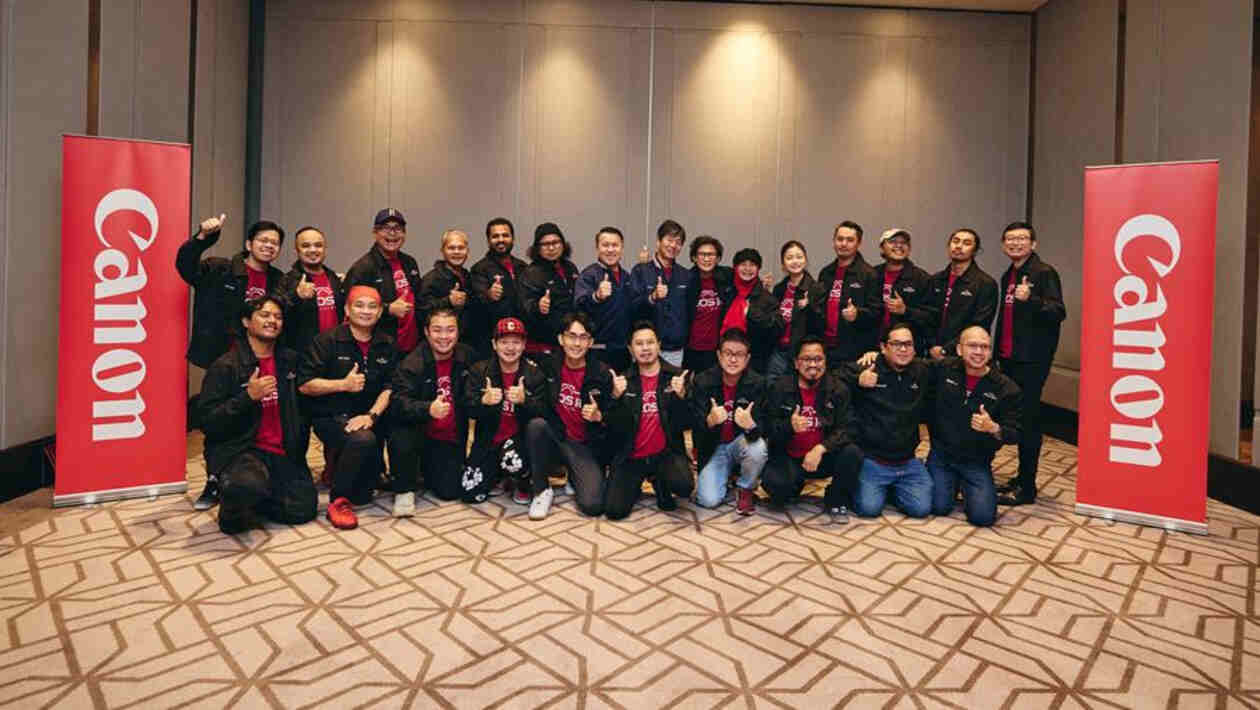
2025 EOS Masters & Mentors Lineup
The 2025 EOS Masters & Mentors lineup was officially revealed during the EOS Masters & Mentors Introduction & Signing Session, bringing together 15 EOS Masters and 11 EOS Mentors. This year’s selection comprises some of Malaysia’s most accomplished photographers and videographers across multiple disciplines, including wedding, event, travel, portrait, and studio photography, as well as wildlife, sports, and photojournalism.
Adding to this diversity are content creators, influencers, birding experts, and extreme sports photographers, each bringing a unique artistic perspective and storytelling approach. With this expanded team, Canon aims to foster deeper industry engagement and provide more comprehensive learning opportunities for Malaysia’s photography and videography community.
Elevating Skills Through Workshops
Canon’s EOS Master and EOS Mentor programmes are designed to offer enriching learning experiences through a variety of workshops, seminars, and knowledge-sharing sessions. These initiatives focus on technical skills development, creative insights, and hands-on learning, ensuring that both emerging and established photographers have the tools they need to excel in their craft.
Masato Yoshiie, President & CEO of Canon Marketing Malaysia, highlighted the significance of this initiative, “The EOS Masters have consistently set the benchmark for excellence, and with the introduction of EOS Mentors, we are creating an even more robust support system for photographers and videographers. This initiative reflects our commitment to cultivating talent and ensuring that knowledge, skills, and creativity continue to flourish within the industry.”
Edward Chang, Head of Image Communication Business Division at Canon Marketing Malaysia, emphasised the mentorship aspect of the programme:, “The addition of EOS Mentors strengthens our mission to bridge the gap between emerging creatives and seasoned professionals. By offering more opportunities for collaboration, learning, and hands-on experience, we are empowering the next generation of photographers and videographers to reach new heights in their craft.”
A Commitment to Creativity
Canon’s dedication to the creative industry is deeply rooted in its Kyosei philosophy, which promotes working together for the greater good. The EOS Master and EOS Mentor programmes exemplify this principle by fostering a culture of mentorship, innovation, and artistic excellence.
Through these initiatives, Canon continues to push the boundaries of digital imaging, ensuring that Malaysia’s creative professionals have the knowledge, skills, and industry support needed to thrive in the evolving world of photography and videography.
For more details on upcoming workshops, training sessions, and events featuring the 2025 EOS Masters and EOS Mentors, visit Canon’s official website: my.canon/en/consumer/event.